Add your categories
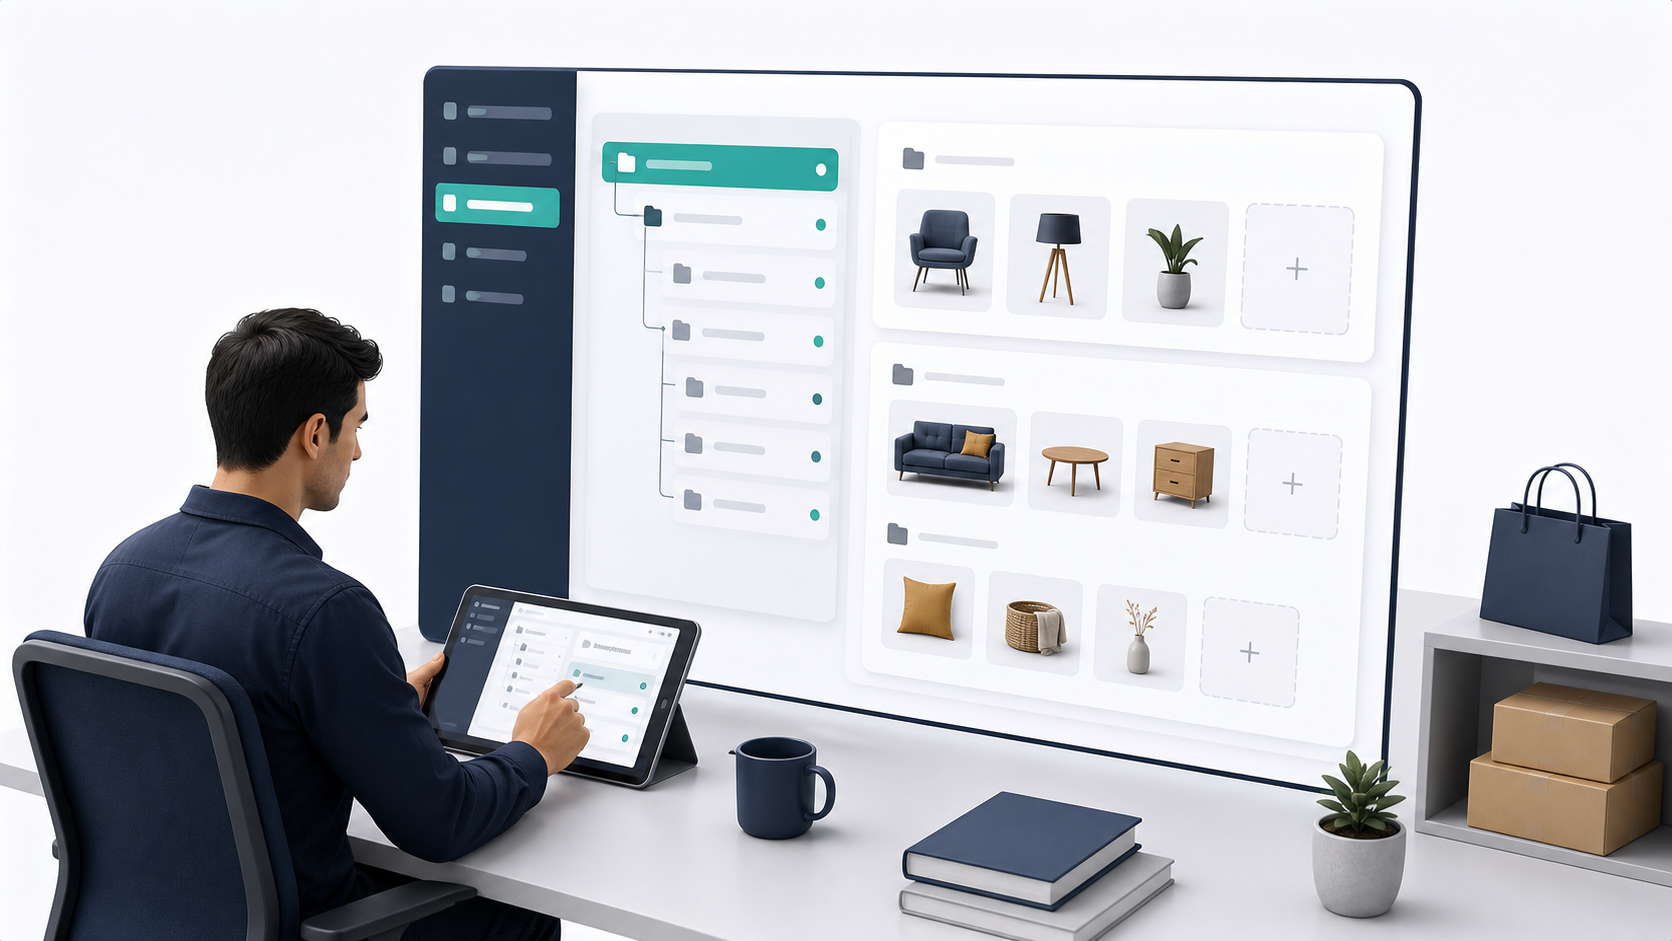
Categories organize your storefront into product groups customers can understand. They are one of the first things shoppers use when they do not know the exact product name. A strong category structure makes the shop easier to browse, improves filters and product discovery, and helps the home page show meaningful sections.
Plan categories before adding a large catalog. It is much easier to create clean categories first than to fix hundreds of products later.
Where categories appear
- Storefront home category sections.
- Category listing pages.
- Product filters and search flows.
- Product forms when assigning products to a browse group.
In the admin portal
Go to Storefront -> Categories.
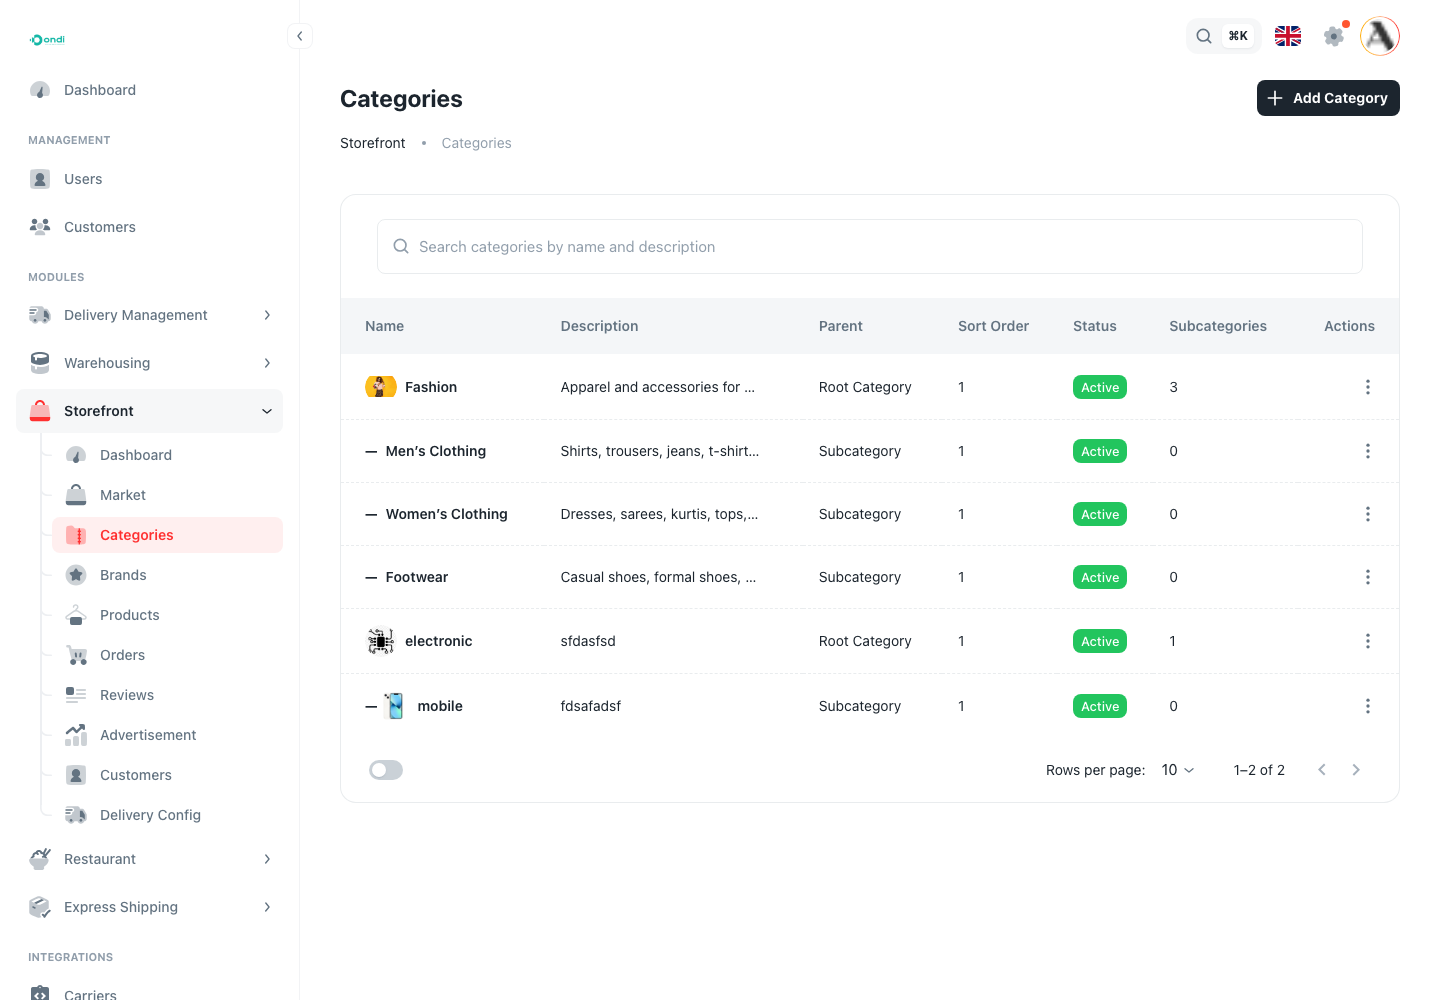
The list shows category name, description, parent category, sort order, status, subcategories, and actions.
Create a category
Click Add Category.
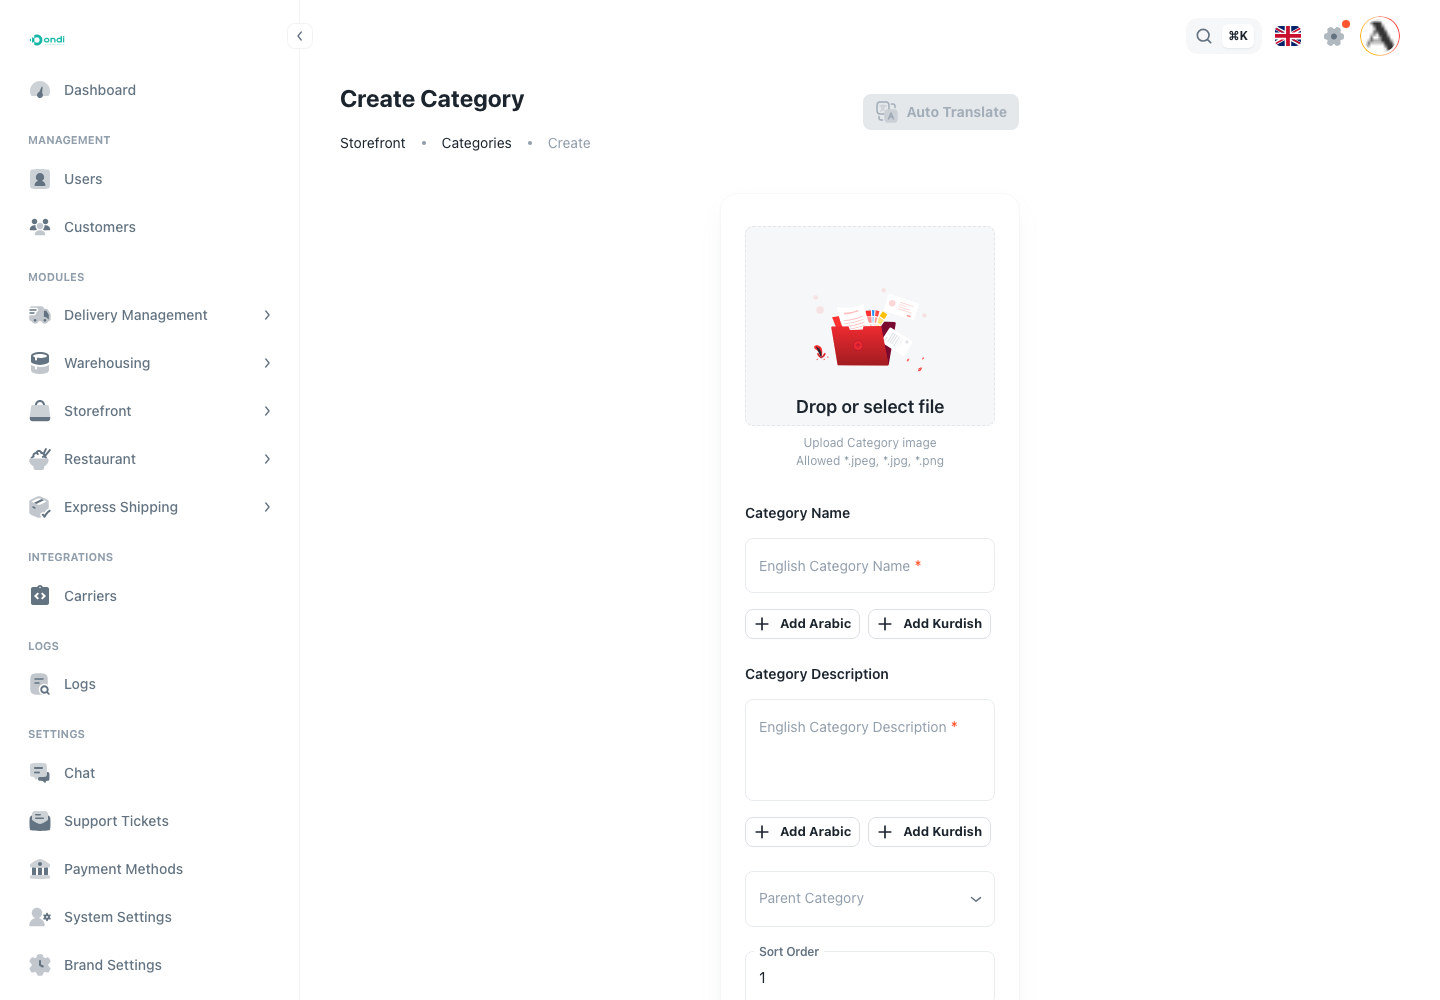
Use clear names customers already understand. For example, Shoes, Furniture, Electronics, and Accessories are easier to browse than internal warehouse terms. If the store supports multiple languages, add the translations before launch so customers do not see empty or fallback language content.
When creating a category, decide whether it is a top-level category or a child of another category. Top-level categories should be broad. Child categories should narrow the customer choice only when the catalog is large enough to need that structure.
Good category structure
- Keep top-level categories broad enough to scan.
- Use subcategories only when the catalog is large.
- Add images for categories that appear on the storefront home page.
- Keep sort order intentional so high-value categories appear first.
- Disable a category instead of deleting it when products may still depend on it.
Category hierarchy
Use parent categories when the catalog needs levels. For example, a store can use Electronics as a parent category and Phones, Laptops, and Accessories as child categories.
Keep the hierarchy simple. Too many levels make the store harder to browse and harder for the admin team to maintain.
Step-by-step setup
- Go to Storefront -> Categories.
- Click Add Category.
- Enter the category name and description.
- Select a parent category only if this should be a subcategory.
- Upload a category image when the category appears in a visual storefront section.
- Set the sort order so important categories appear first.
- Enable the category only when it is ready for customers.
- Save the category.
- Assign products to the category from the product form.
Where customers use it
Customers see categories on the home page, category pages, navigation, and product browsing flows. A category should help the shopper answer, "Where should I go next?" If a category name only makes sense to the internal team, rename it before launch.
Checklist before publishing
- Category name is clear.
- Image is uploaded when the category is customer-facing.
- Parent category is correct.
- Sort order is set.
- Category is active when ready to show in the store.
- Products assigned to this category are active and have stock.