Add User
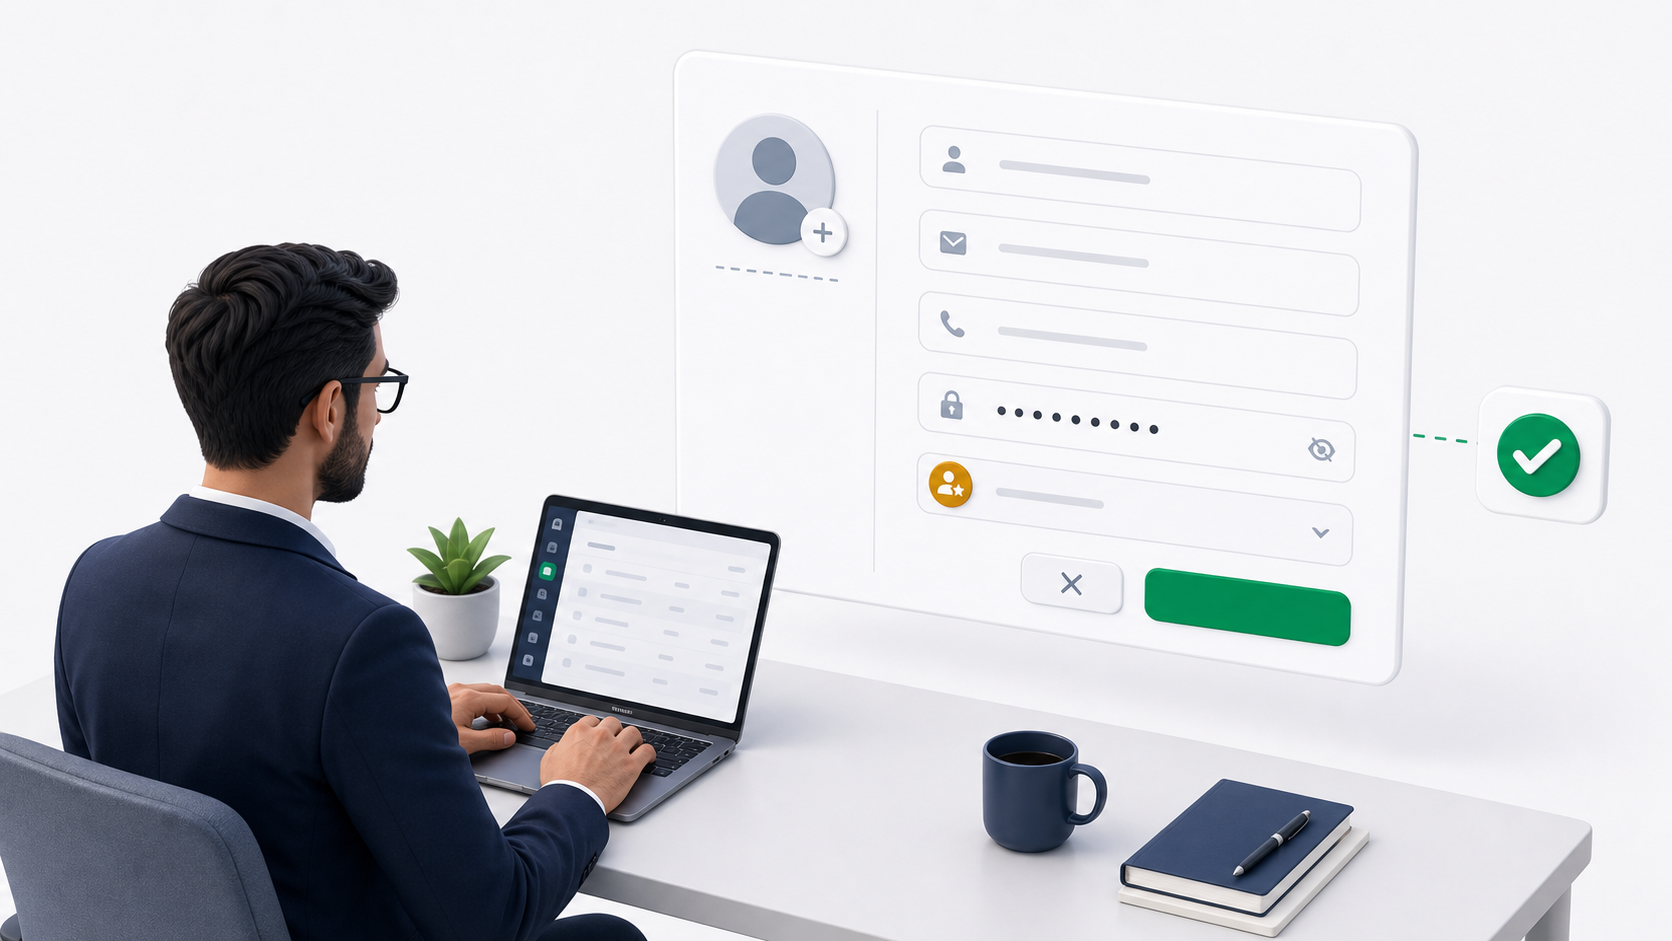
Use Add User when you want to create an account directly and set the first password yourself. This is useful for internal staff, drivers, warehouse workers, dispatchers, or any user who needs immediate access.

Where to start
- Go to Management -> Users.
- Click Add User.
- Fill in the required profile and password fields.
- Choose a role if the person should be a staff/admin user.
- Leave the role empty if the person should be customer-only.
- Click Add User.
After the user is created, Ondi opens the new user's detail page when the API returns the new user ID.
Fields
The Add User form includes:
- Avatar: optional profile image. Supported image files are JPEG, JPG, PNG, or GIF up to 3 MB.
- First Name: required.
- Last Name: required.
- Email: required and must be unique.
- Phone Number: optional.
- Password: required.
- Role: optional for user creation.
Password rules
Passwords must include:
- At least 8 characters.
- One uppercase letter.
- One lowercase letter.
- One number.
- One special character.
Role or no role
Assign a role when this person needs access to tenant operations. The role decides what they can see and do.
Leave the role empty when the person should be added as a customer in the system. Customer-only records are managed from Management -> Customers.
Add Customer
The Customers page uses the same form in customer mode.
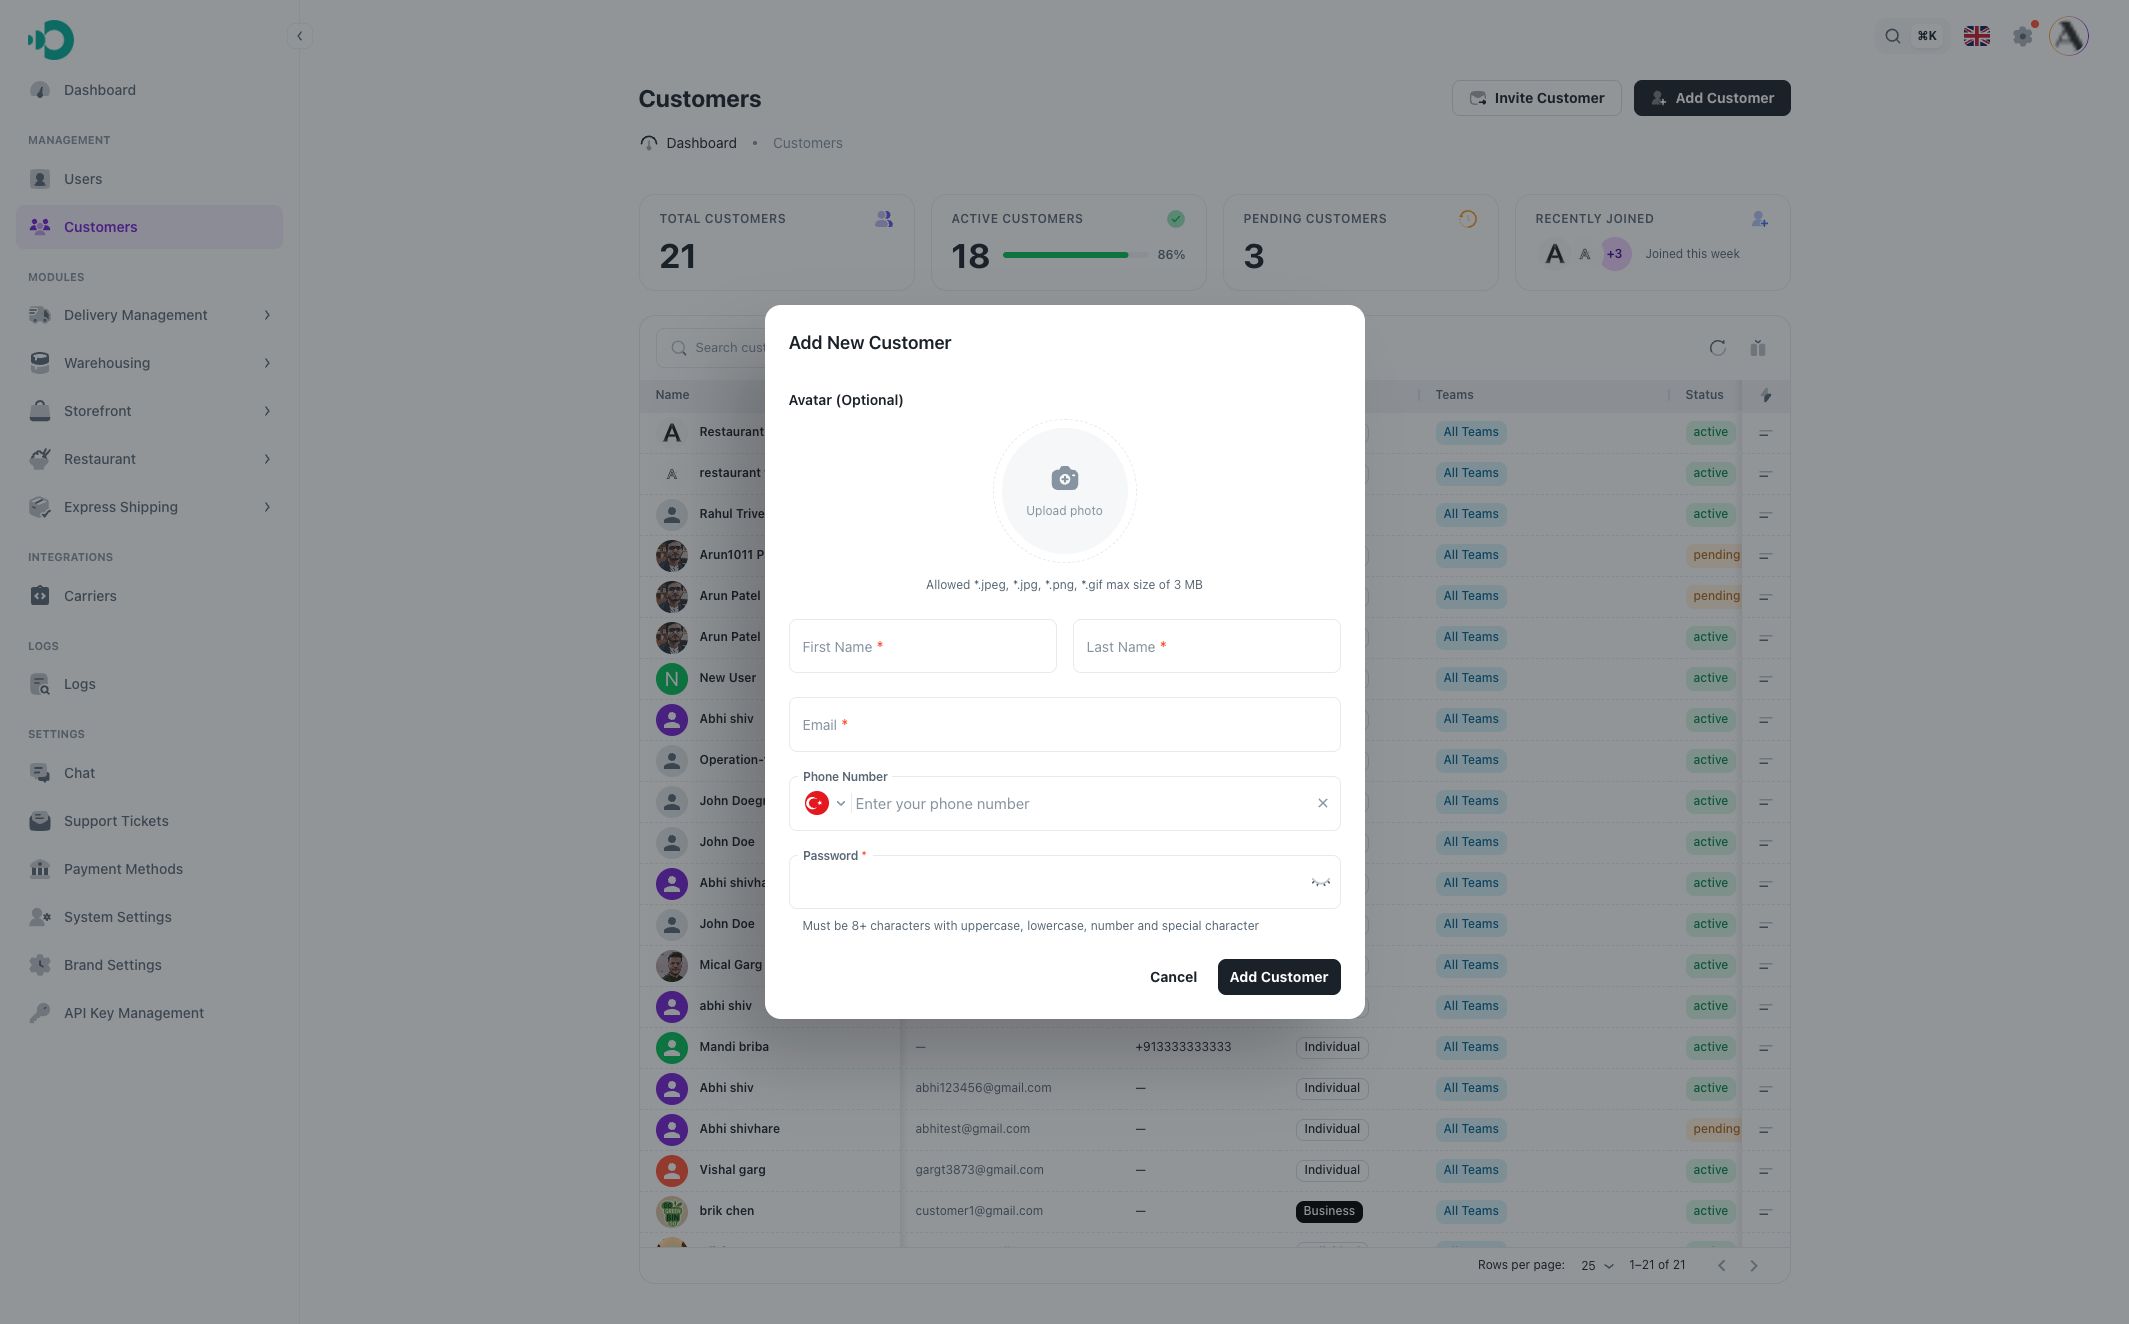
In customer mode, the form does not show the role field. The record is created as a customer.
When to use Add User
Use Add User when:
- You want to provide credentials directly.
- The person needs access immediately.
- You are onboarding internal staff.
- You need to choose a role during creation.
Use Invite User instead when the person should accept an email invite and set their own password.